
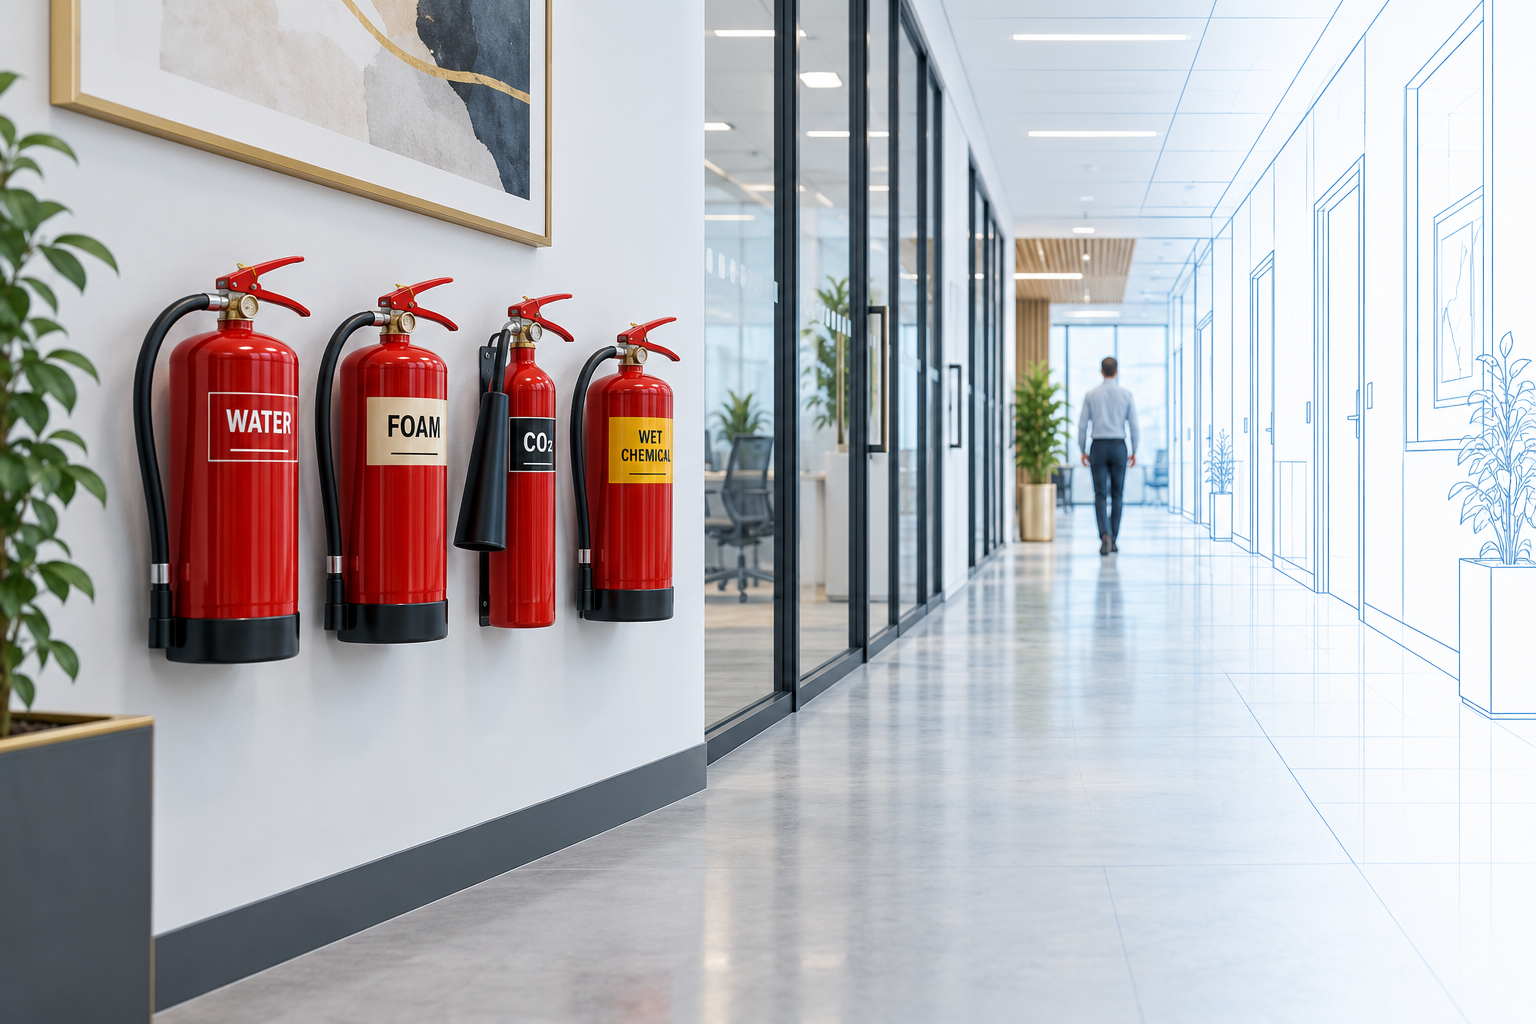
Choosing portable fire extinguishers is easier when you separate three questions: what might burn, what is the extinguisher rated to tackle, and where will people find it? This guide brings the essentials together, from the coloured labels and common sizes to why foam and CO₂ units are often placed together.
In a fire: raise the alarm, get people out and call 999. An extinguisher is for a small, contained fire only where a trained person can act without delaying escape and has a clear way out. Never put yourself at risk to save property.
Jump to what you need
Which type does what?
The red body is common to portable extinguishers; the coloured band and the label identify the agent. Always read the actual fire class and instructions on the unit. The following is a practical overview, not a substitute for selecting equipment against a fire risk assessment.
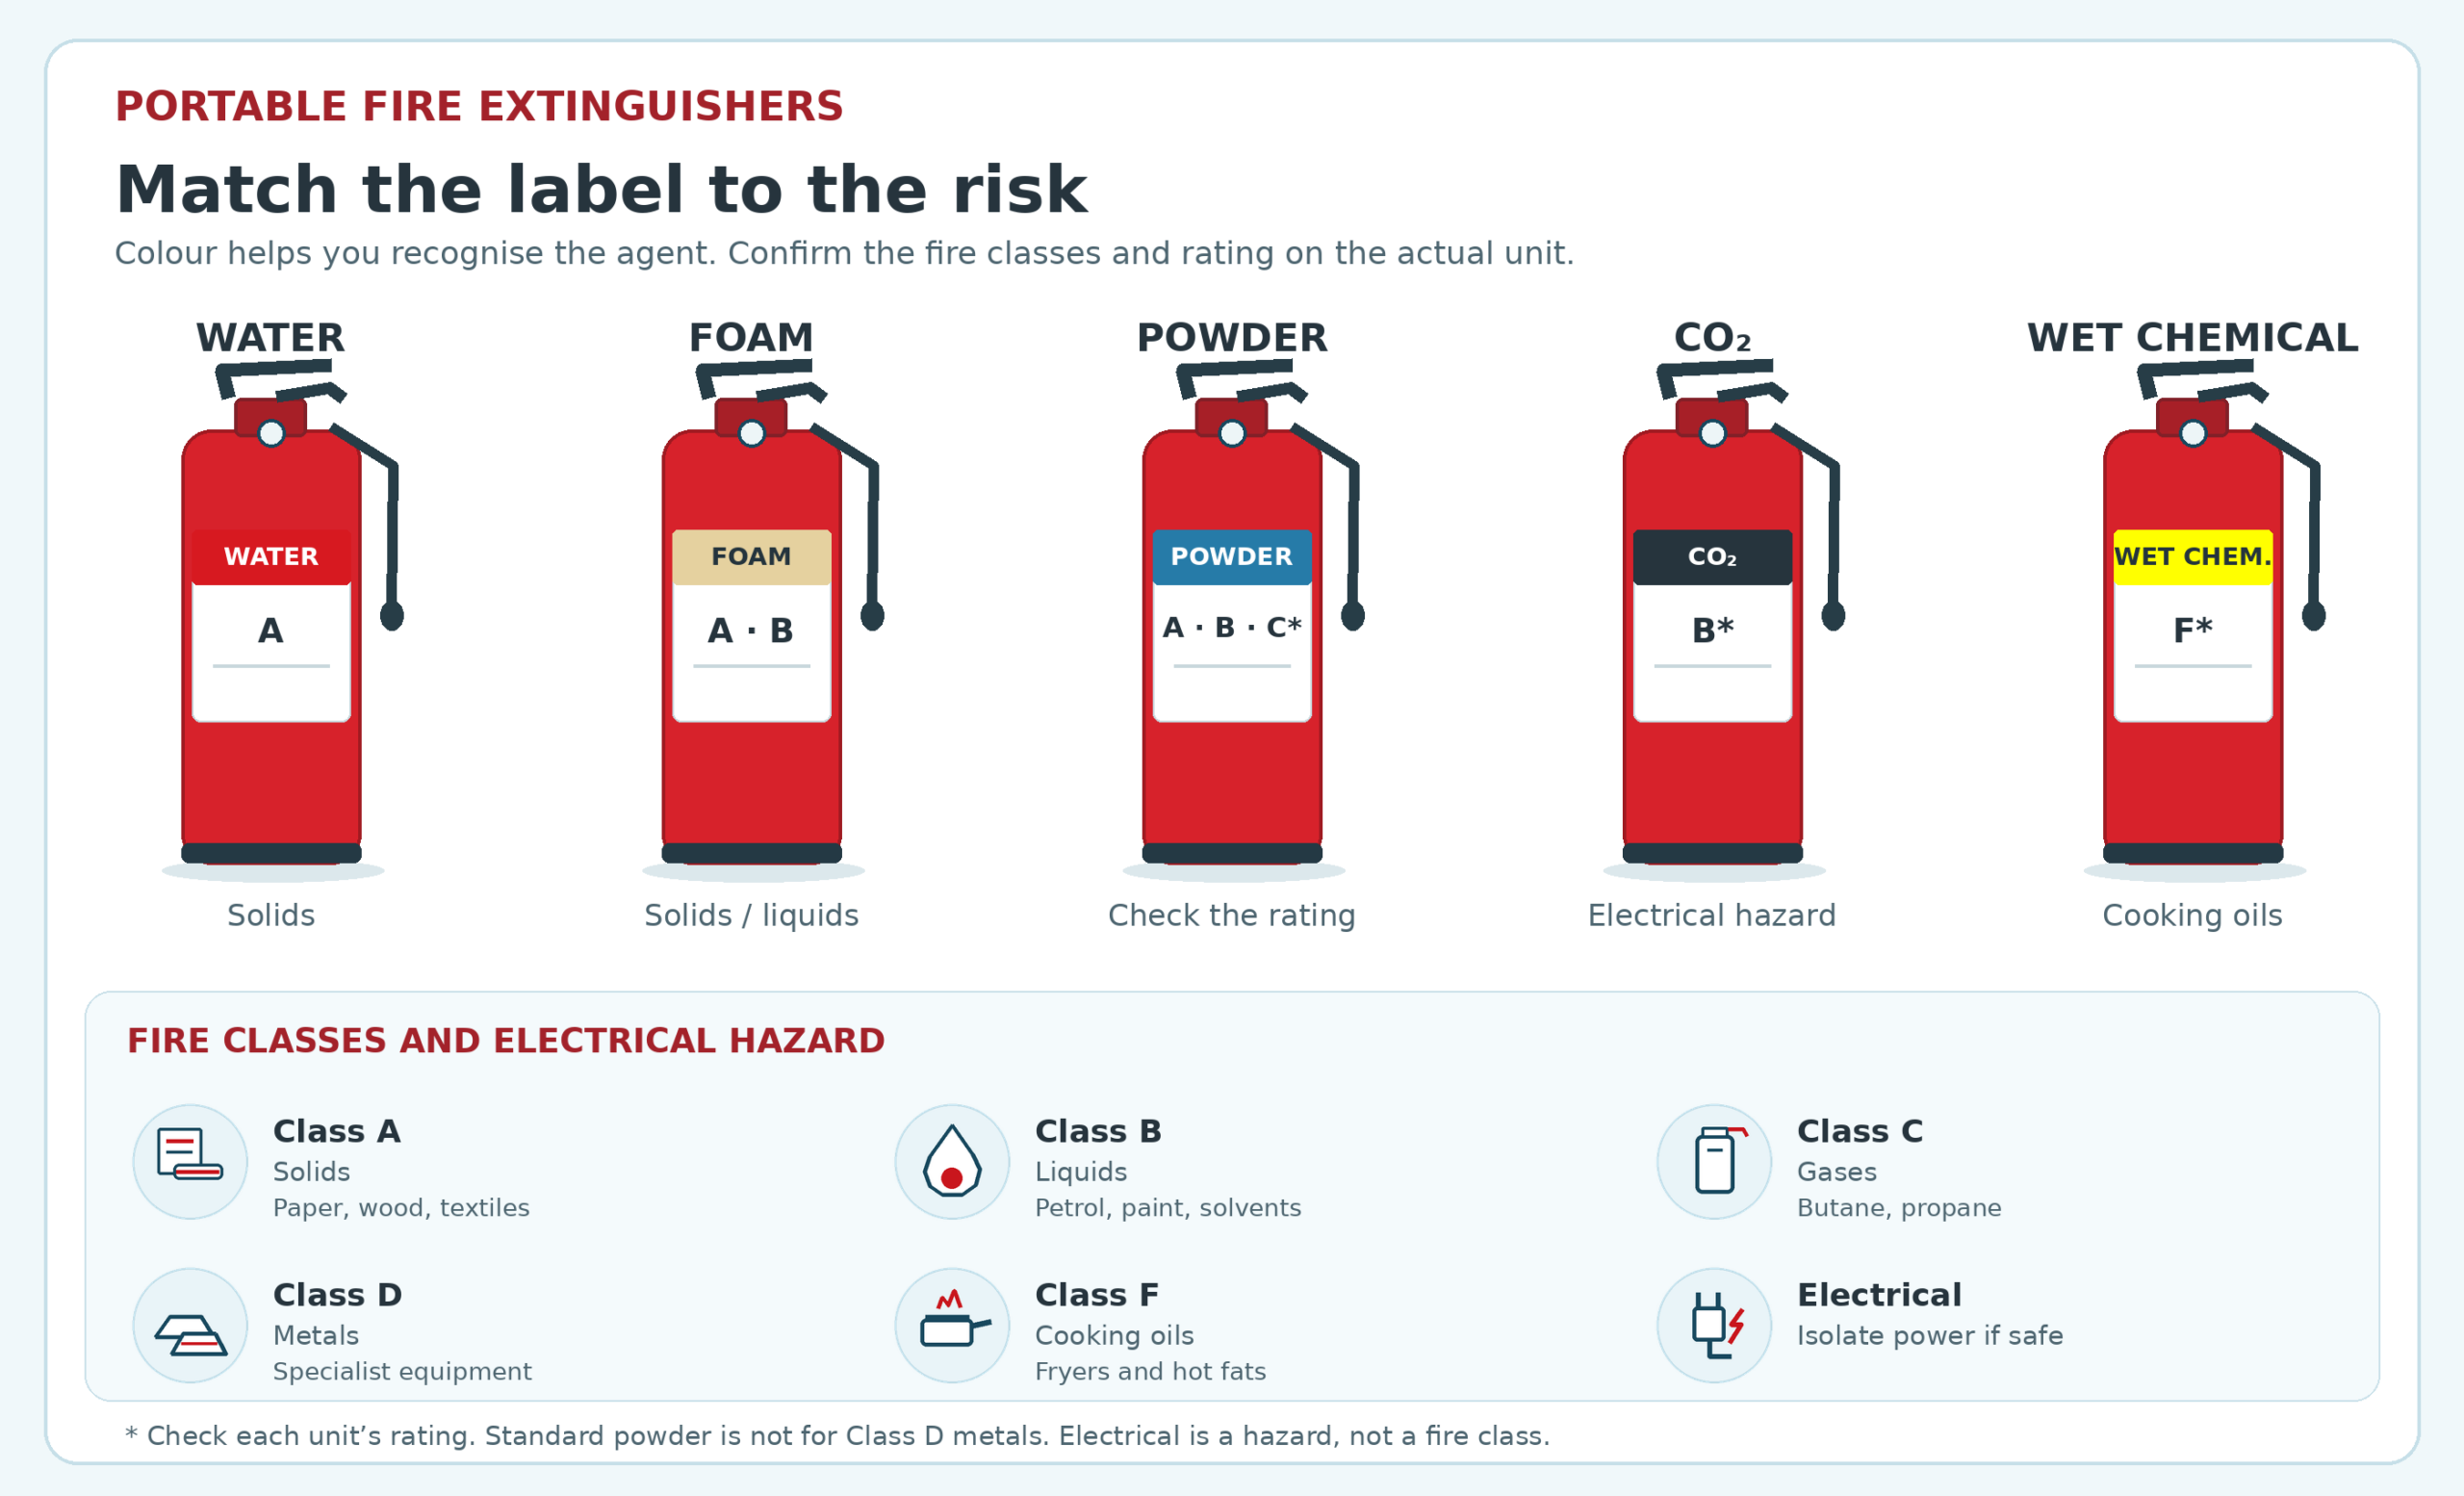
Start with the fire risk, then check the actual label. The band identifies the agent; the tested classes and rating determine where a particular unit belongs.
Water
Red band Class A
For ordinary solids such as paper, wood and textiles.
Check: Standard water is unsuitable for flammable liquids or live electrical equipment.
Foam
Cream bandClass A Class B
Can cover solids and flammable liquids when those ratings appear on the unit.
Check: Confirm any claimed electrical suitability on the actual label. Never use ordinary foam on a deep-fat fryer.
Carbon dioxide (CO₂)
Black bandClass B Electrical hazard
Useful for certain liquid fires and fires involving electrical equipment, with little residue.
Check: Little cooling means re-ignition is possible; the discharge horn becomes very cold.
Dry powder
Blue bandClass AClass B Class C
Can address some solid, liquid and gas risks according to its tested rating.
Check: Generally unsuitable for enclosed spaces. Class D metals require specialist powder.
Wet chemical
Yellow band Class F
For cooking oils and fats, particularly in commercial kitchens; some units also carry an A rating.
Check: Choose the rating for the cooking risk. Ordinary water or foam can spread a fryer fire.
Fire classes describe the fuel: A solids; B flammable liquids; C gases; D metals; and F cooking oils and fats. A fire involving electrical equipment is an additional electrical hazard, not a separate UK fire class. Isolate the power if it is safe to do so.
What should you read on the label?
Start with the extinguisher itself. Its manufacturer label identifies the extinguishing agent (such as WATER, FOAM or CO₂), capacity, tested fire rating and classes, plus operating instructions and warnings. Read those markings on each actual unit: a coloured band or a size alone cannot tell you whether it suits a particular risk.
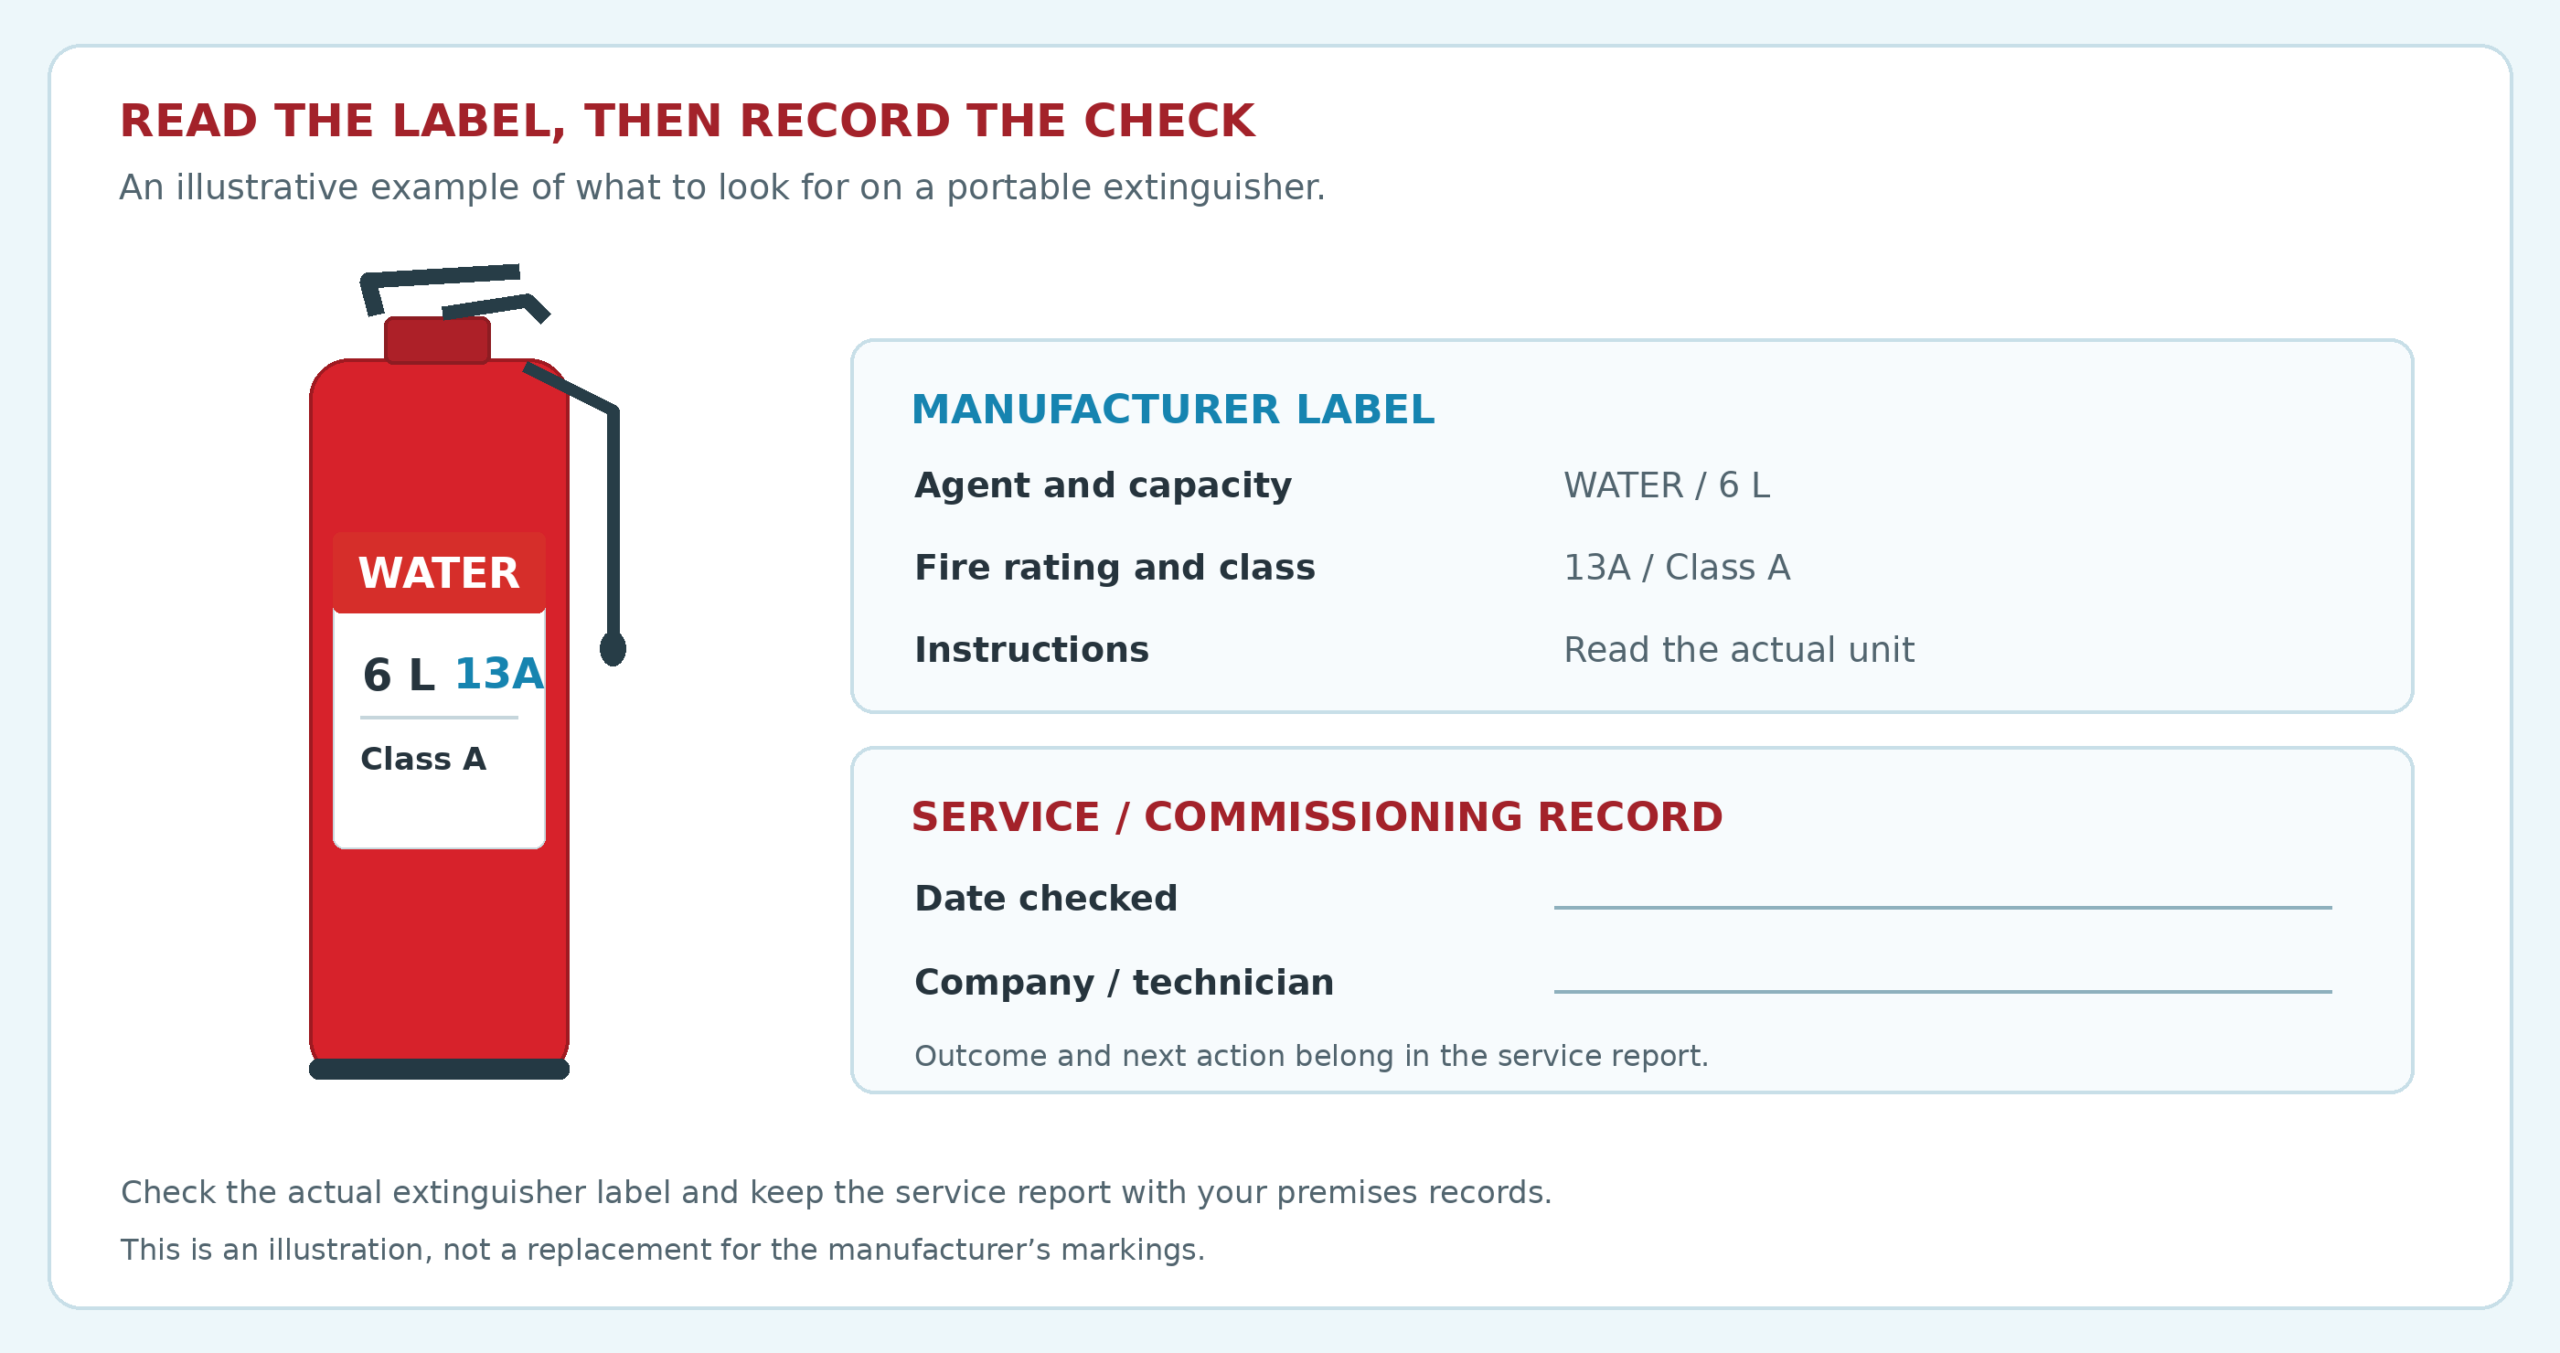
When an extinguisher is commissioned or serviced, the technician checks and records the unit and its location. A service label or tag may show the date and provider; the accompanying service report gives the outcome and any action needed. Keep that record with your premises information, and make sure the front operating label remains visible when the unit is mounted.
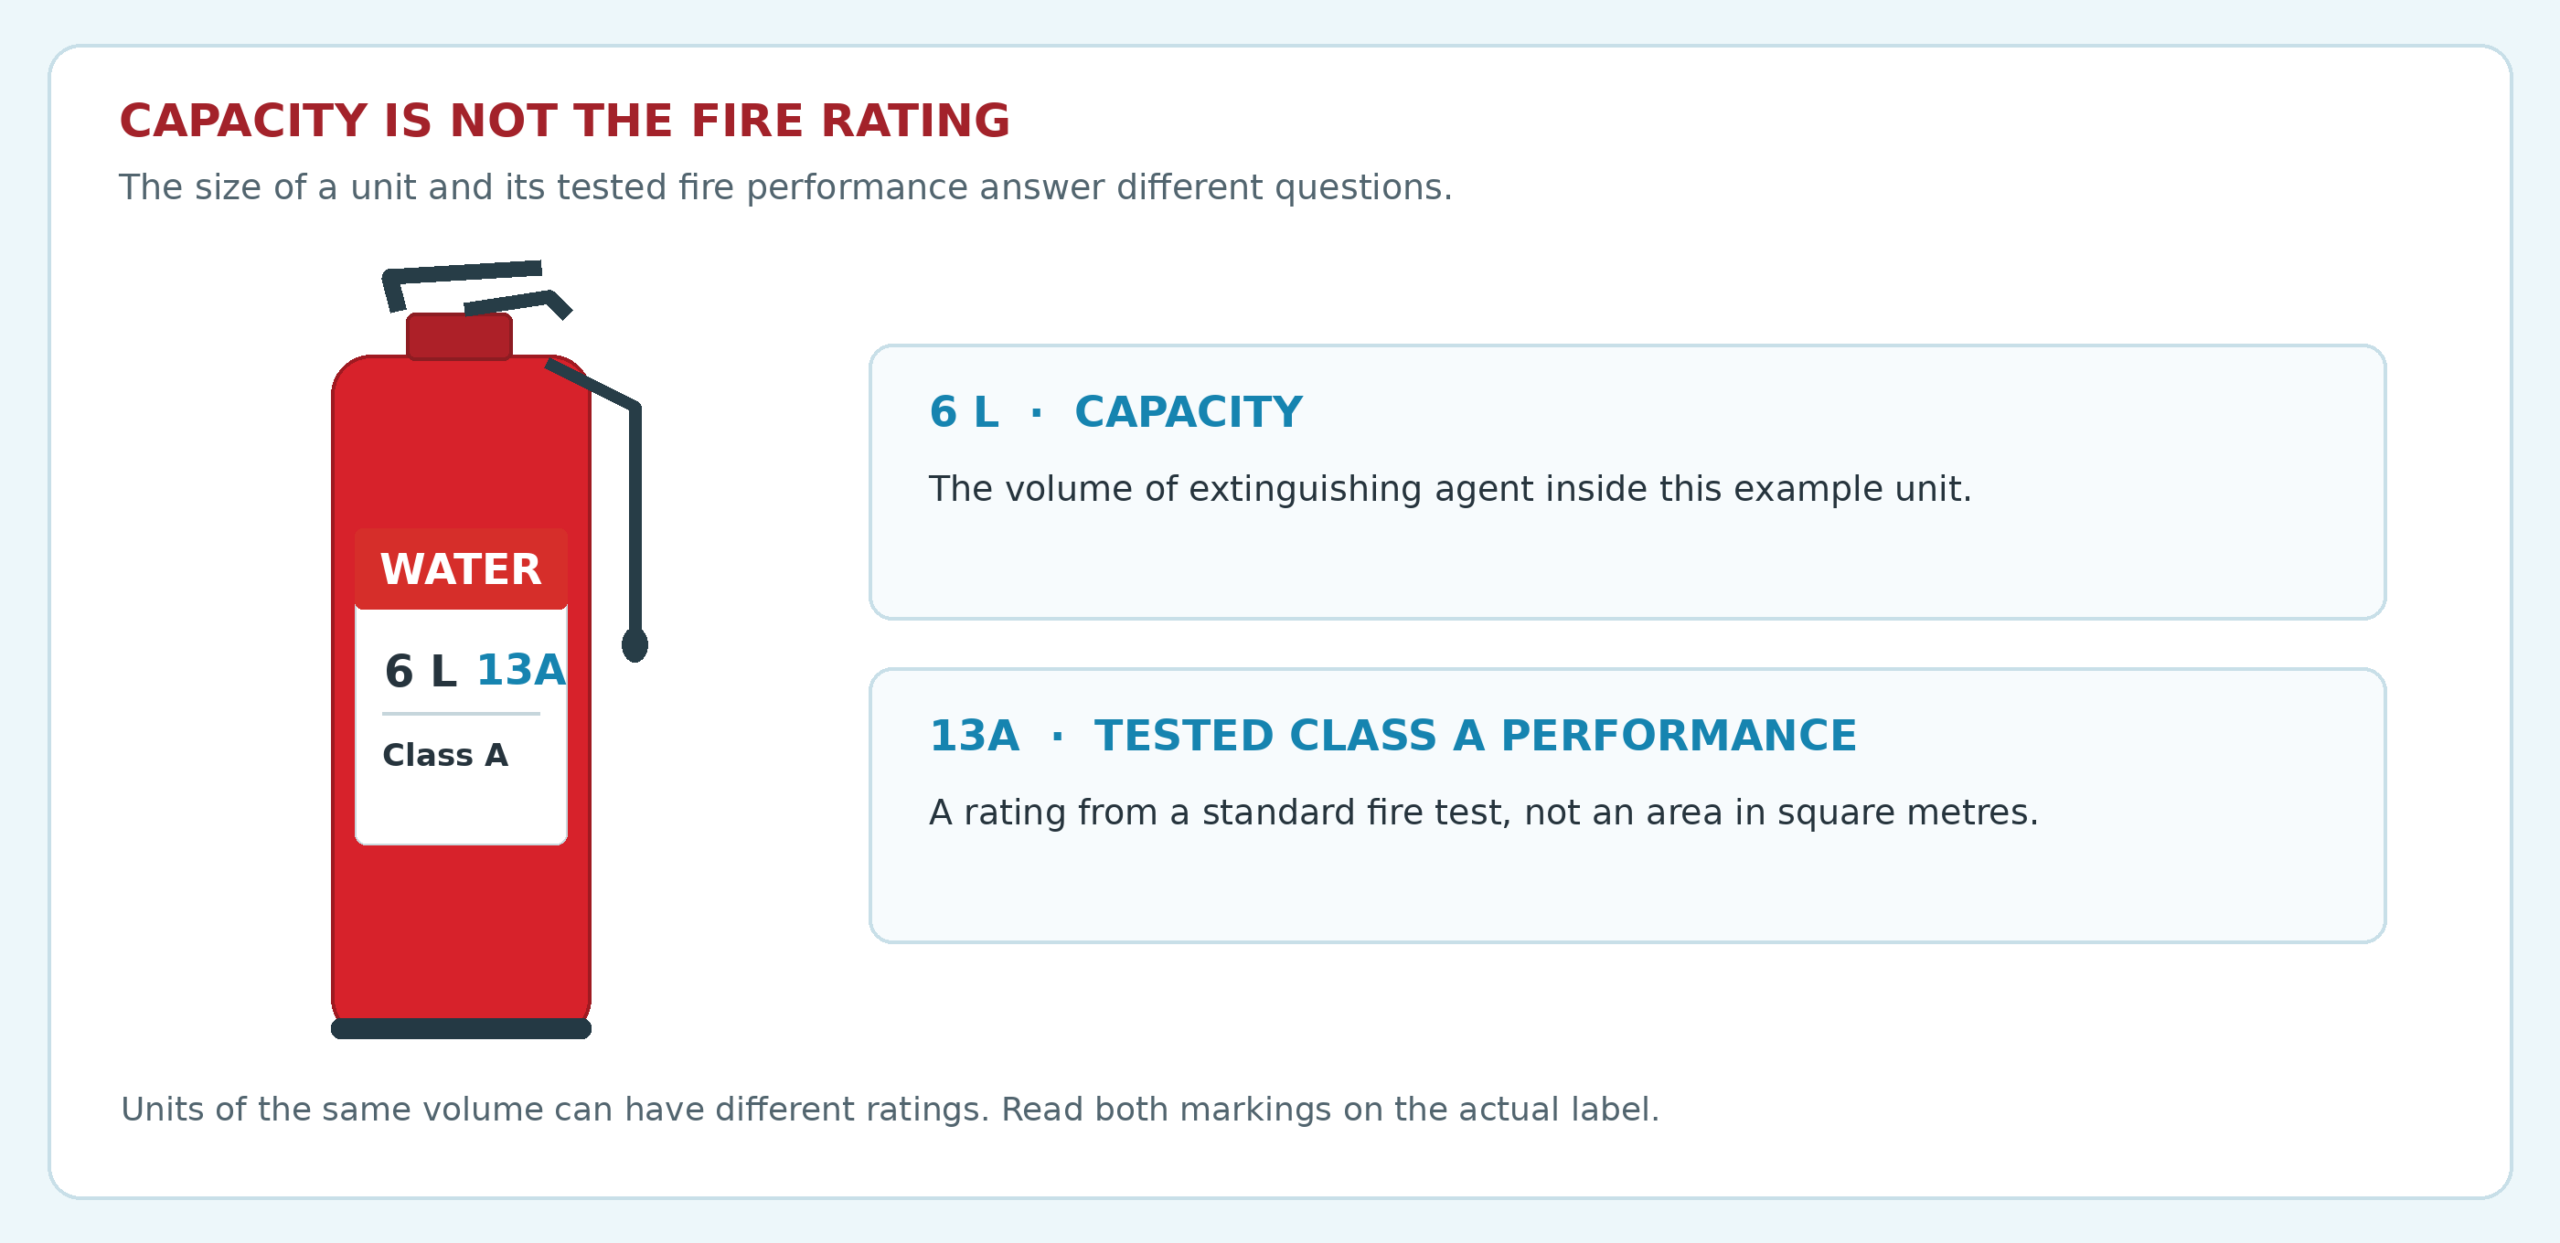
What do 2 kg, 6 litres and 13A mean?
Capacity tells you how much extinguishing agent a unit contains. Water and foam are commonly described in litres; CO₂ and powder in kilograms. You might see 2 kg CO₂, 3 or 6 litre foam, or other sizes. These are examples, not a shopping list.
Fire rating reports tested performance against a particular fire class. On a label, 13A is a Class A rating and 34B is a Class B rating. The number is part of a standardised test designation; it is not the number of square metres the unit protects. Two extinguishers with the same volume can have different ratings, so capacity alone cannot tell you how many your premises need.
Also consider whether people can lift and handle the unit, what it could damage when discharged, and the location of likely fires. A competent assessment brings those factors together with the premises layout and the relevant selection standard.
How do pairing and grouping work?
At one fire point, different portable extinguishers can cover different risks. In an office or shop, a suitably rated foam unit may cover Class A solids and Class B liquids, while CO₂ may suit certain Class B fires and fires involving electrical equipment without powder residue. Each has its own job and tested rating.
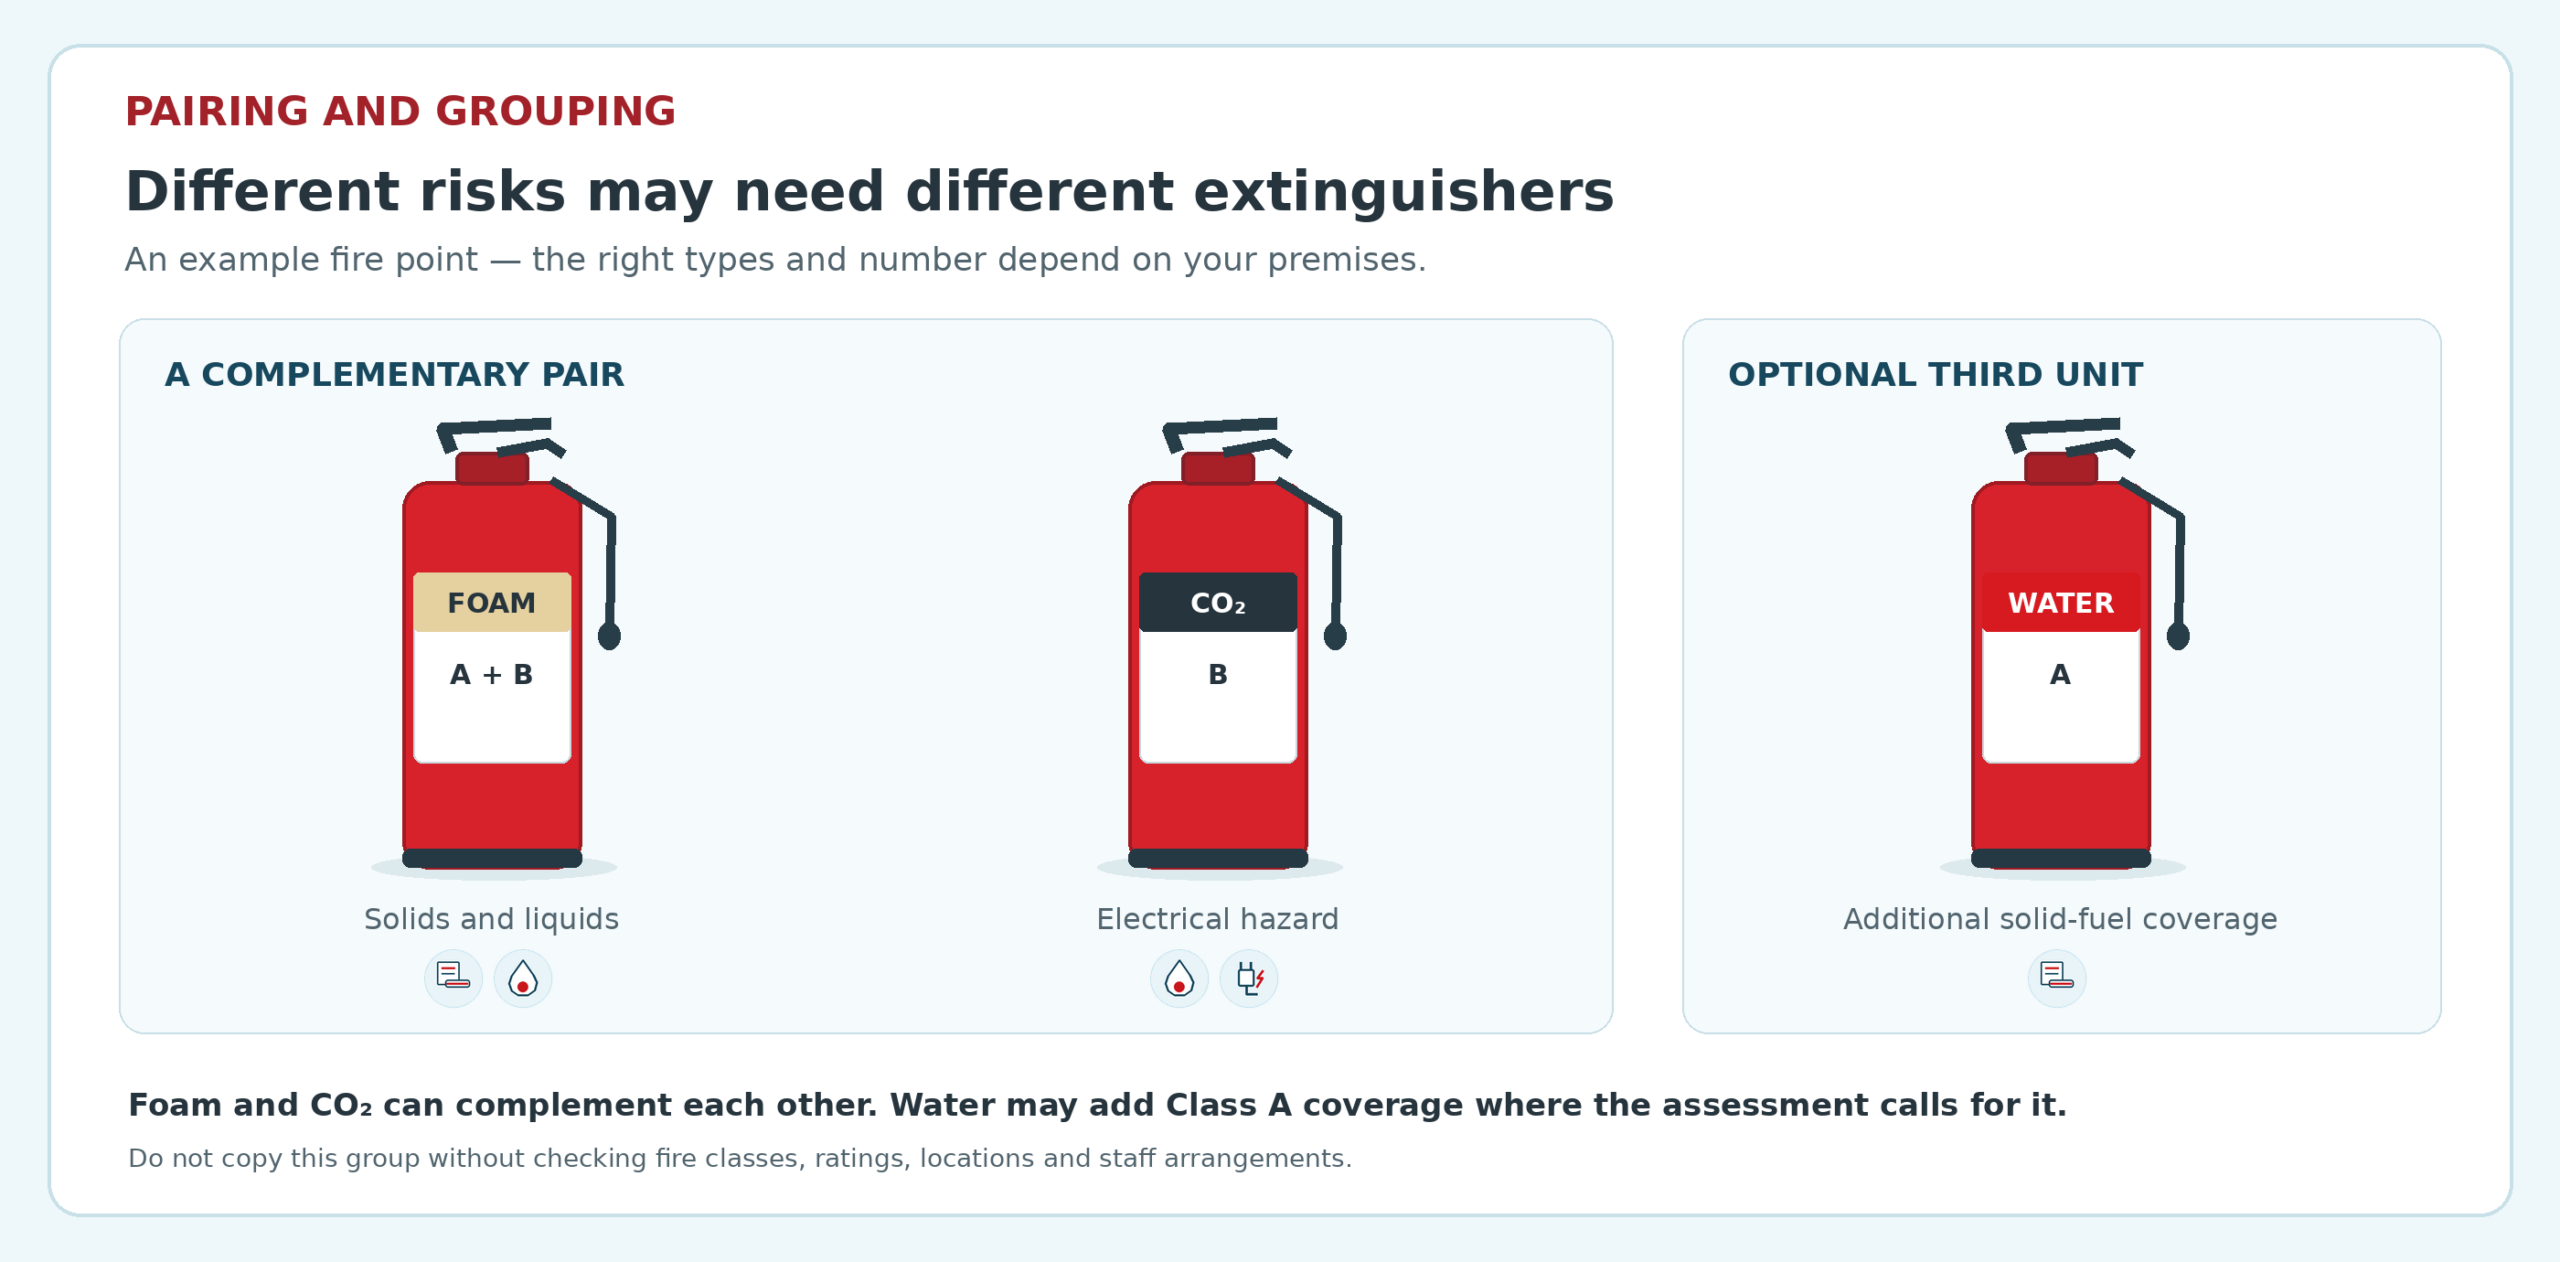
If the fire risk assessment calls for more Class A coverage, a water extinguisher may join that pair or be positioned elsewhere on the premises. Three units together are an example, not a default set. A kitchen, workshop or specialist risk may need a different combination.
Group units where people can see, reach and distinguish them. Keep the operating labels visible, provide appropriate signs and train staff in the alarm and escape procedure. The assessment should determine the types, ratings, number and locations; never copy a grouping just because it appears in a diagram.
Where should they go: wall, stand or cabinet?
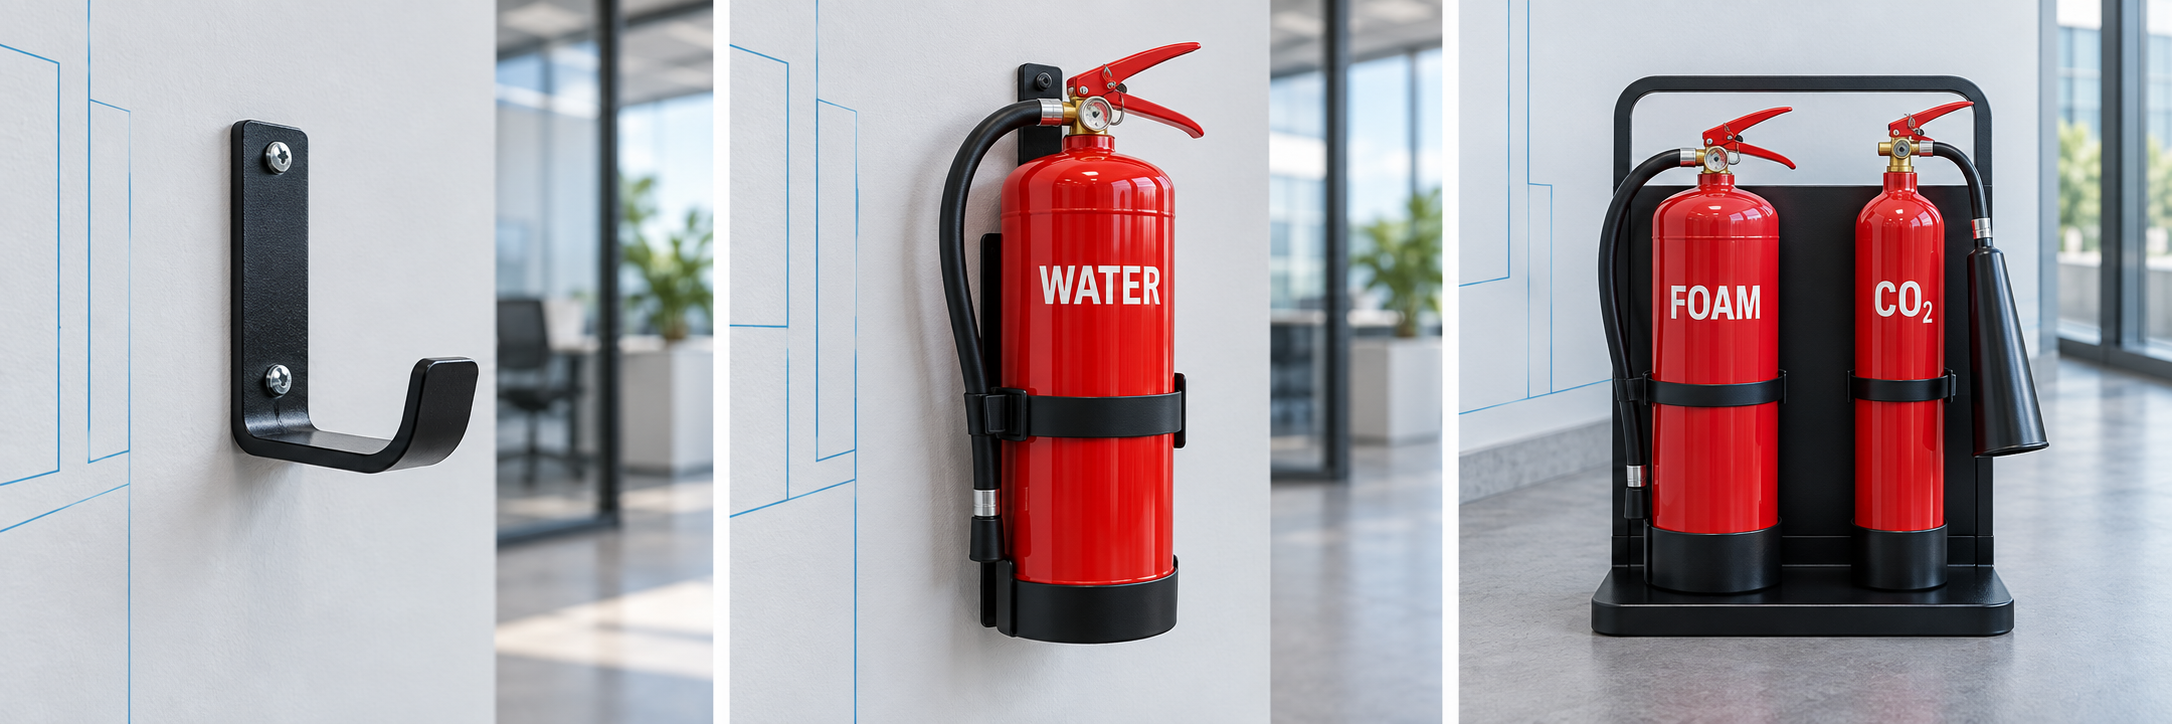
People should be able to see and reach the right extinguisher quickly, ideally on an escape route and near the relevant risk where appropriate. Site layout and travel distance matter. A wall bracket keeps a unit secure and off the floor; a purpose-made stand can suit a space where wall fixing is impractical; a cabinet may protect equipment in a harsher setting. The mounting method should suit the unit and the people expected to use it.
Keep the fire point unobstructed, identifiable and protected from damage or tampering. Do not allow a stand or cabinet door to narrow an escape route. Check that the extinguisher can be removed easily and that its instructions face out. Exact positions and mounting details should be agreed for the premises rather than copied from a generic diagram.
A useful check of what you already have
- Walk the premises and record each extinguisher’s location, agent, capacity and A/B/F rating from its label.
- Note any missing, obstructed, damaged or out-of-date units and any change in how rooms are used.
- Compare the equipment with the fire risk assessment and ask whether staff know the alarm, escape and extinguisher arrangements.
- Ask a competent provider to review selection, siting, installation and servicing, and keep the resulting records together.
Already have units but are unsure what they are? Read our quick identification guide. To see what a service visit involves, read our service guide.
Want a clear recommendation for your site? Tell Safe Cinder about your premises, the extinguishers you already have and any new risks. We can review the details and advise on the next step.
Further reading: London Fire Brigade portable equipment guidance; GOV.UK offices and shops fire risk assessment guide; FIA on BS 5306-8:2023.
Tell us about your extinguishers or alarms and what you need to know.
Ask Safe Cinder →